Lawerence Berkeley National Laboratory
Making the scintillator would be the first step of the entire process. First find yourself some nice pieces of scintillator and have it cut into desired shape and size. Cutting scintillator requires professional help and equipment since scintillator is not very solid material and it's very easy to melt or crack it. Then follow the procedures outlined below and you have youself very nice and beautiful scintillator ready to be assembled with the rest of the detector. You may refer to my own design of the scintillator (Adobe Acrobat ReaderTM required) but you don't have to follow the exact size and shape of my design.
1. Polishing Scintillator
After the scintillator are cut into desired shape and size, polish all sides of the scintillator, except the top and bottom surface.
First, polish all sides of the scintillator using 600-grid sand papers. Before polishing, wet the sand paper first. Wash off all dirt and dust occasionally while sanding the scintillator.
Then use a rotating round-table machine designed for polishing plastic and scintillators to do a second polishing. Cover the rotating table with Putz Pomade, a polishing material that is closed to 800 grid. Turn on the machine and hold on to scintillator while the machine is polishing the scintillator. Let the machine polish the scintillator for 30 seconds for each side. Then turn the scintillator around and polish for another 30 seconds for each side. Wash off all Putz Pomade on the scintillator
.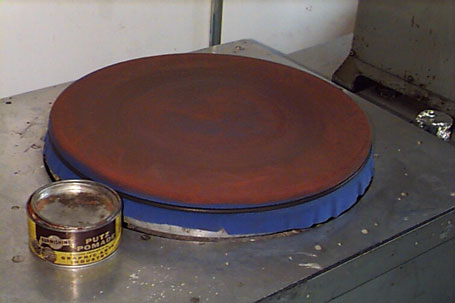
Then use the same kind of machine, but this time cover it with alumina powder. Sprinkle the powder over the round-table and pour a bit warm water to make it some sort of paste. This paste is equivalent to 1200 grid. Use the same technique of polishing as described above. Wash the scintillator.
Always wash scintillators with cold or room-temperature water.
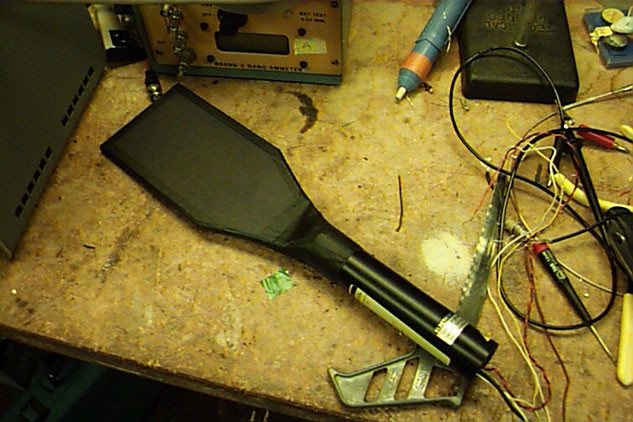
2. Gluing the Scintillator to the Phototube
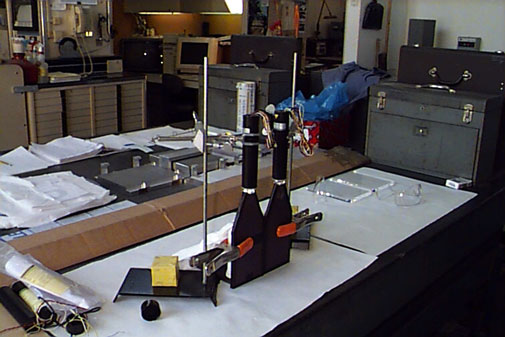
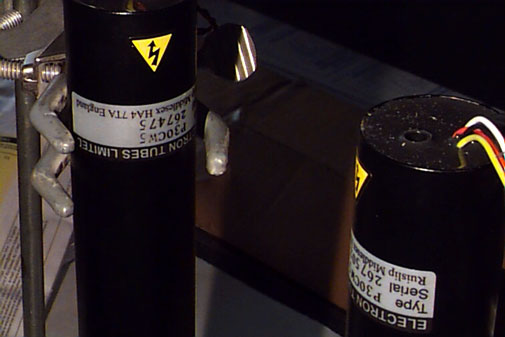
After the scintillator is done being polished, it is ready to be glued to the phototube. We use gravity to make sure the entire surface of the scintillator is glued evenly onto the phototube. We use stand to keep the phototube from falling over (but the stand never actually touches the phototube). We put the scintillator on a flat surface to make sure it is 90 degrees up-right. Them we clip it to some heave solid to maintain its position below.
.
We use a clue that is a mixture of "826" and "U". The mixture is 3 to 1 respectively. We first have to warm up the both liquid separately and the mix it with the above recipe. Don’t mix too much of it because we don’t need that much. Then vacuum it with a air pump so that there are no air bubbles in the mixture. Then it’s ready to glue the scintillator to the phototube.
Use easy-to-remove tape to cover the area that is close to the tip of the scintillator so that the glue won’t stick to the surface of the scintillator. Apply the glue on the tip surface of the scintillator and put the phototube on top of it. Then peel off the tape by the tip of the scintillator. Wait at least 3 hours for the glue to solidify. Don’t touch this glue with your fingers!
3. Wrapping
Before gluing the scintillator to the tube, cut two pieces of black cardboard for the top and bottom surfaces of the scintillator. The size of the cardboard should be a tiny bit smaller than the surface of the scintillator. After the scintillator is glued to the tube, it’s ready to e wrapped.
First, wrap the scintillator with aluminum foil. Avoid contact with the phototube because the high voltage of the tube. Then tape the two already-cut cardboard onto the top and bottom surfaces of the scintillator. Make sure that the cardboard is touching the glass of the phototube. Then use black tape to cover all sides of the scintillator. Also use the black tape to wrap around the contact area between the phototube and the scintillator.